Friday, December 16, 2011

Wednesday, December 14, 2011

December 2011 Product Challenge at ScrapbookChallenges.com

Hello, Lovely Scrappers!
I'd like to ask you to join a challenge in Scrapbook Challenges. We are moving to a new site, so please check and register if needed! So much challenges and nice inspiring people around the world here.


Here's my LO for the challenge:
First of all, I created this LO after looking and totally inspired by Dinah's LO in here. Thanks, Dinah! You're awesome!  Dinah is my sweet friend in SC Design Team. I love how you use the numbers in alpha stickers, I had no clue how to use it and your LO came to the rescue!

For the product challenge this time, I'd like you to open up your scrapbook box and treasure tools! Let's play using the following products:
- patterned papers
- alpha 
(stickers or chipboard or simply alphabet cuts-outs leftovers)
- stamps and ink
( I used 2 kinds: one at the top of the picture and the other at the bottom of it)
- punches ( I used border punch)
- flowers 
(handmade, store-bought, paper, fabric, buttons, any kind of flowers!)
- cut-outs ( there are some butterflies)
- rope (or yarn for accent details)

Hope you can play along!

Thanks,

Eka

Friday, November 25, 2011

Use it Tuesday Challenge #20: Giving Thanks

Hello, Scrappy Friends. 
I created this little thank you card for my special friend and for Use it Tuesday Challenge #20: Giving Thanks.
She is a very close friend and she deserves my gratitude for being such a wonderful friend.
She loved shabby chic and vintage looking paper, that's why I dig up my stash from Webster Pages to make one for her. 
Here's the final look of the tiny card.
Here's my first attempt. 
I used some rope and twisted it all over the cardstock.
Here's the back part. I put exactly the same stamp, since she deserve more than one "thank you" from me.
I used the "thanks!" stamp for the first time here since I bought it months ago. 
(Wouldn't tell how many months back then *grin*)
Then I added a folded piece of cardstock for a small hidden note for my deepest thoughts, written especially for her. :)
The rope I used here also neglected for months on my art table. :(
Glad I can use it up today!
Thanks for looking!

Wednesday, October 5, 2011

Mini Album - Family

 Here's my first WORD ALBUM I made. 
I created this special album for my special cousin's family, Vera, who was just delivered her third child, a beautiful baby girl named Sophie. 
It was a very special day, since Sophie was born exactly on their 6th wedding anniversary!
What a lovely gift!
 I used the paper from Simple Stories, Baby Steps.
 If you click the link, you'll see its adorable complete set.
 There I put some gorgeous Prima Flowers.
And I put some punched flowers in this page. 
There are hidden journaling at the back of the page.
I added some strong plastic to add more pages.


I put Bo Bunny paper at the back because I really love the words written on it. 
I stamped brick clear mini stamp from Prima Marketing to add more accent for the word "walls" in the sentences.

Thanks for stopping by and spare some of your precious time here. :))

Tuesday, October 4, 2011

Mini Album - So Happy Family

 Created this mini album with sweet pink and blue color combo.
 Use the paper from Prima Marketing. Stamps from Little Yellow Bicycle.
 Use blings bought from kids and teen accessories store. :)
Actually they're made for cell-phone accessories :)) 
Anything for scrapping!
 Use different color ribbons in every page!
 Love those butterflies!
Thanks for looking!

Monday, October 3, 2011

Mini Album - Happy Day

I made this special album for a special auntie who inspire me to love crafts.
When I was a kid, she made me dresses. 
She cut my hair. She dressed me up.
I loved watching her sewing her own children handmade baby clothes. She's really talented. 
And lots of her talents, go with her daughters as well. Here's her eldest daughter blog, who's now turning a really talented digital designer. You can visit her wonderful creations. Please meet, Vera.
 Here's the cover of the album. I put two handmade flowers on.  
 Here's the close-up.
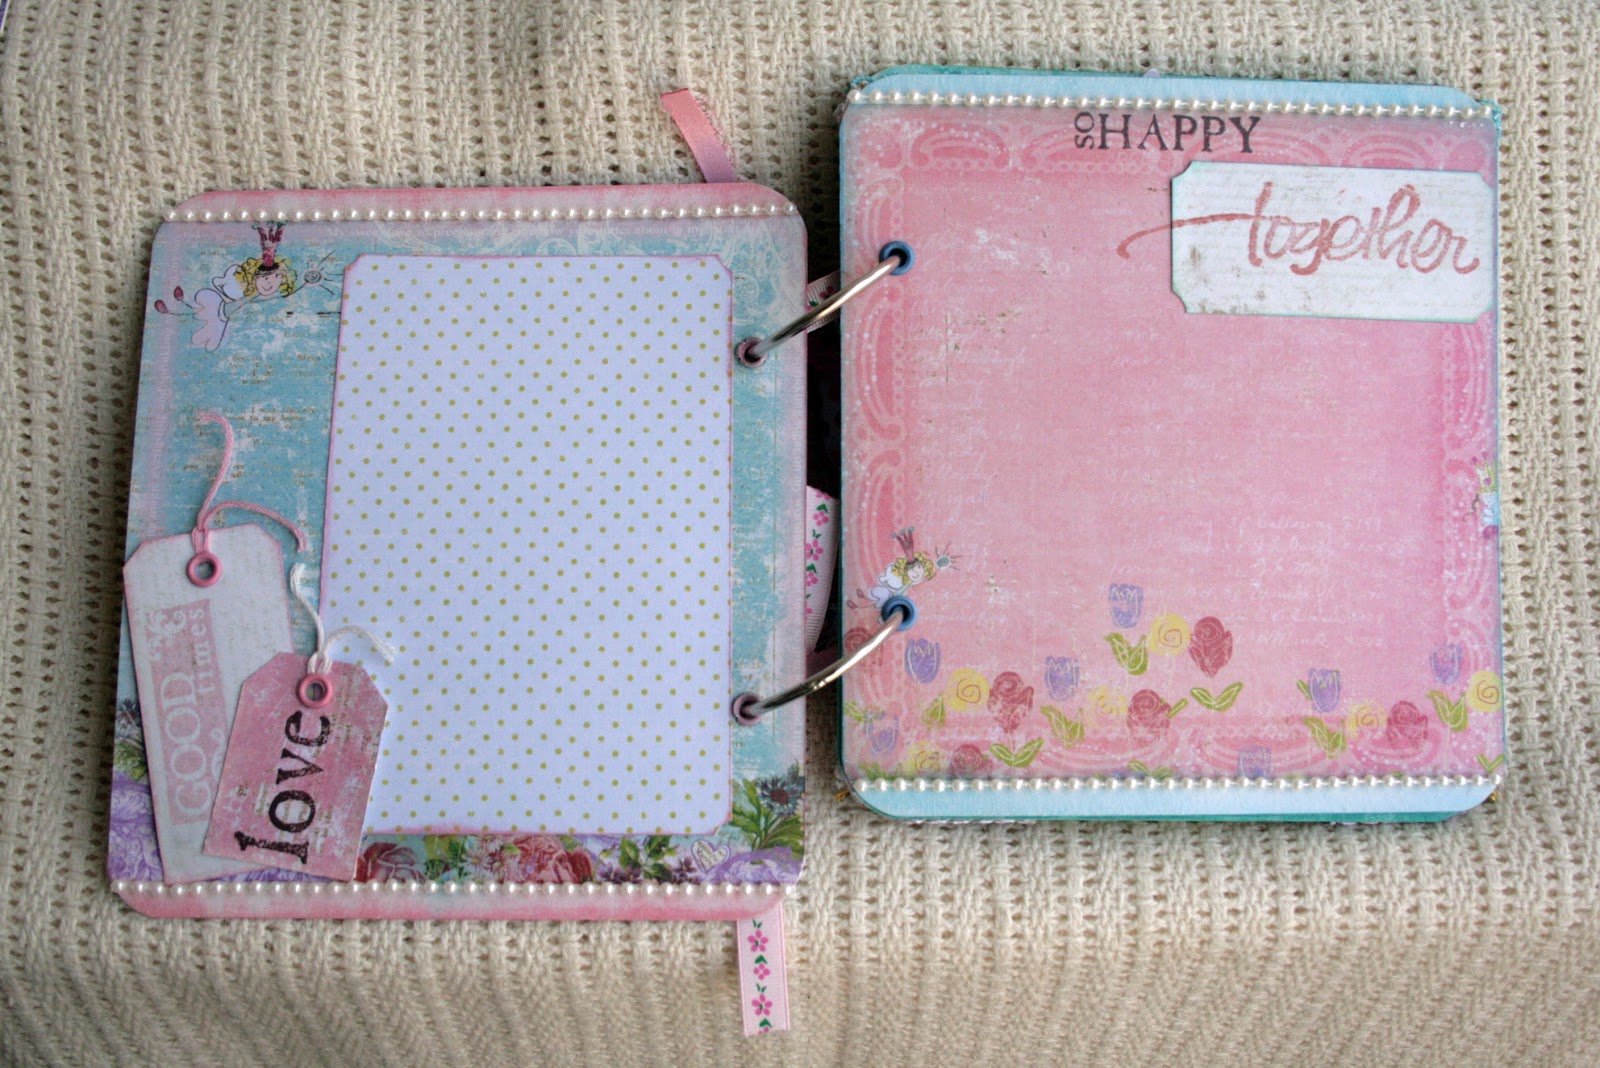
 The second and third page are fairly in soft colors. I used Prima Marketing brick masking, Ranger's Distressed Ink Tattered Rose. On the other page, I used Prima Flower plastic packaging. I reuse it. Too beautiful for being a trash. That way I am not trashing the climate either. Win-win solution, right?  :)
 Here I used  Technique Tuesday Clear Stamp by Ali Edward, one of my favorite scrappers. :)
 I made handmade ribbon flowers, by using a circle cardstock as the background, and simply put the ribbon in a circular motion, and some glue, starting from the edge.
 I stamped green circle background using a clear stamp from Little Yellow Bicycle.
 Notice the green leaves, they are made of another Prima Marketing packaging. 
Another reason why I love using Prima Products, is because I can use almost everything from the pack! :) 
I cut them using Carl Crafts's dies.
 Curling up paper pieces is fun and creating different look and mood of a paper.
 Simple, easy and turned out wonderful!
 I love this part so much!
 The flowers, I did some fussy cutting and added some UTE clear embossing ink.
 I dried it up using heating tool.
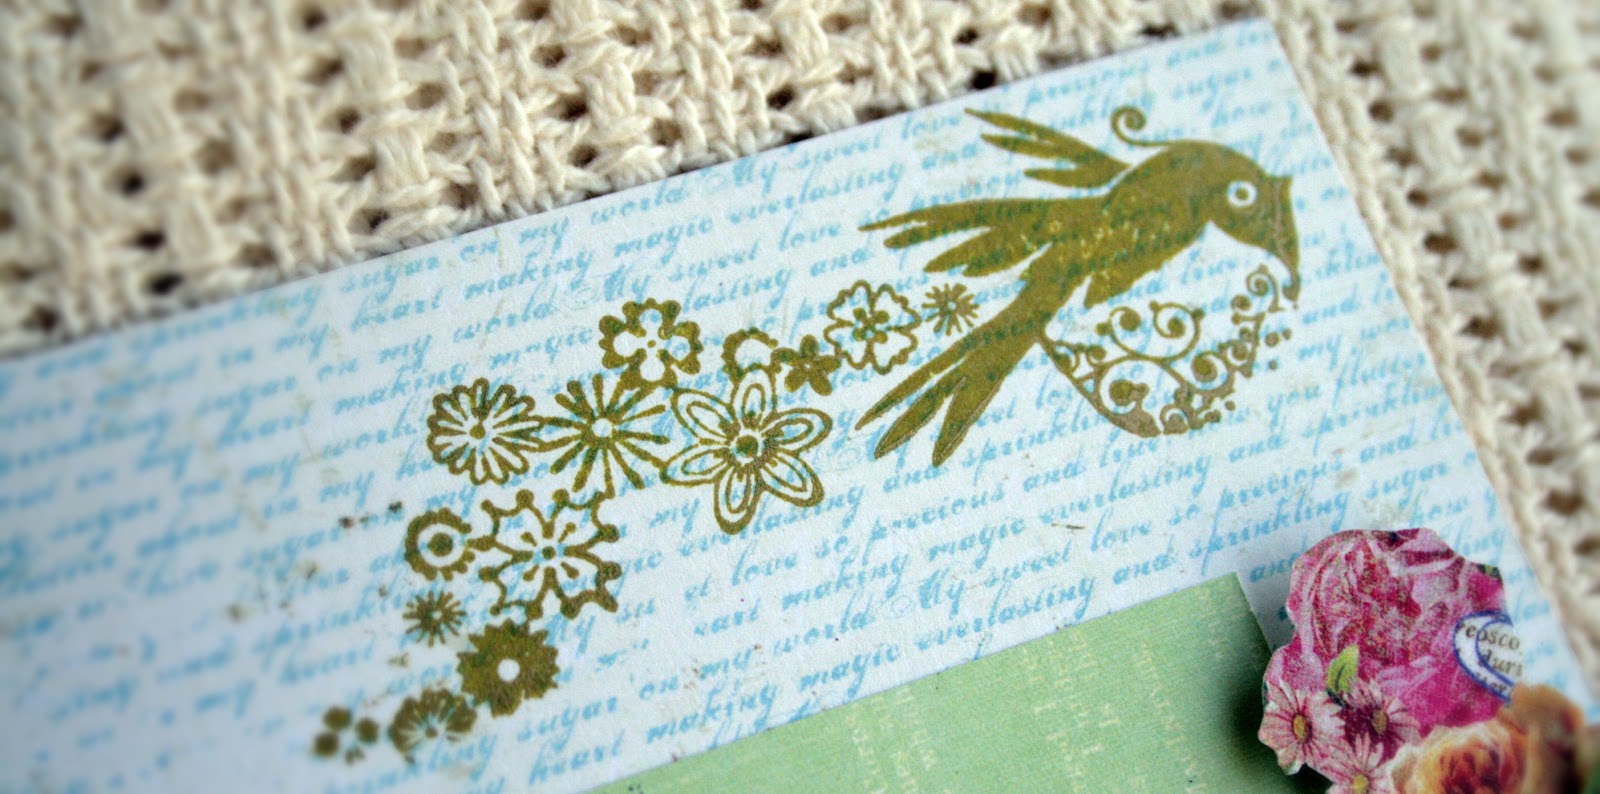
 Here's the close-up of the birdie clear stamp.
 And here's the close up of the handmade flowers I made using paper, beads and chalk ink box.
 Here's the last page of the album. I put quite a big space for a bigger picture here.

Thanks for looking!

Sunday, October 2, 2011

Mini Album - Princess

This mini album consists of  10 pages, included the cover and the backcover.
I mostly use the paper from Prima Marketing for this album.
 For color theme, I just simply follow the paper. 
I use thin cardstock for the album. The size of the album is 15x15 cm.
 Here's the close-up detail on the ring binder. I tied up some pretty ribbons on each ring.
 For this page, I used some green and purple acryclic paint and dabbed them using sponge brush to create special effect.
 I cut out the yellow paper as the frame.
 Use some clear stamp and ink here.
 I put the flowers overlapping to create more dimesnion. 
 For more details, I add on some UTE clear embossing ink and dried it up using heating tool. 
*Yay! Finally I have it!

 Some ink and clear stamps again. :)
 I love using Tsukineko brand for the ink since it create a bold look like a printing machine.
 I put in Prima Masking and created this wonderful frame. I used paint knife and some pink acryclic paint to make it.
 Then to create softer look, after it dried, I dabbed on some whites using sponge brush.
 Here's another frame. I cut out the green paper and aligned it diagonally.
 I dabbed over some yellow acryclic paint directly from the tube! LOL. Look at the effects! I love it. 
No mess. No clean up. 
Close the tube and done!
 I dabbed some more on the next page.
Here's the last page. 
I really love the cut-outs castles. I added some blings using Ranger's Stickles and put some glass deco on it to create dimension. Again, I dried them using heating tool.
Here's the close up: