Created especially for Use It Tuesday, as the theme is green, I tried to use up as many as trash, reuse-able and recycled materials on my project. Also green color of course!

Materials used:
- corned beef can
- Prima's pearl paper package
- a cardboard
- baguette/french bread wrapping paper (for the flowers)
- Prima's pearl paper package
- a cardboard
- baguette/french bread wrapping paper (for the flowers)
Embellishments:
Juneberry organza/tulle flowers
Clay-stamped-words (iClay Amos)
Little Yellow Bicycle clear stamps
Kaiser Craft clear stamps
Studio G rubber stamp
Prima brick clear stamp
Buttons
Dried-leaves

Yellow Tiny Plastic Flowers
Foliage Spellbinders Leaves
Glue
White Acrylic Paint
Silver Acryclic Paint
Painting Brush
Dew Drop Brilliance Black Graphite
Dew Drop Brilliance Pearlescent Olive
Stickles Star Dust
Stickles Icicle
Here's the final look on my project.
Here's the steps how I created them.

I peel off the cardboard to get the textures I wanted.
Then I painted it all white.

Time to create the embellishments!
I rolled up the iClay from Amos into a small ball.
I stamped it with clear stamp from Little Yellow Bicycle.

Here's the iClay packaging looked like. I bought them in a bookstore.
The black one, I stamped it with Starlite Silver Dew Drop Brilliance Ink.

I want the rectangle shape, so I cut it that way.
It looked like this.
I was not really happy looking at the edge, it looked rough.
I added some silver ink later to cover the rough look. :)

Here's the half-done-clay-embellisehments looked like.
I painted the circle with silver acrylic paint, leaving the words white.

Here's the final look of the circled-one.
I add some stickles on the letters.
Stamping some Black Graphite Dew Drop Brilliance Ink on the words and edges.

The stamps from Kaiser Craft
and Little Yellow Bicycle made the can look gorgeous!
and Little Yellow Bicycle made the can look gorgeous!


The sides of can, I stamped them with Studio G rubber stamp.
Cover them with leaves, cut in Spellbinders Foliage dies
and some plastic leaves I found on my vase. :)


The close-ups:

A picture of me when I was a kid.. :)

The final look on the rectangle embellishents.
I painted the letters with the smallest brush in silver acrylic paint,
to create more brightness.
I added up some Stickles on it for the final touch.
I painted the letters with the smallest brush in silver acrylic paint,
to create more brightness.
I added up some Stickles on it for the final touch.

The front side:
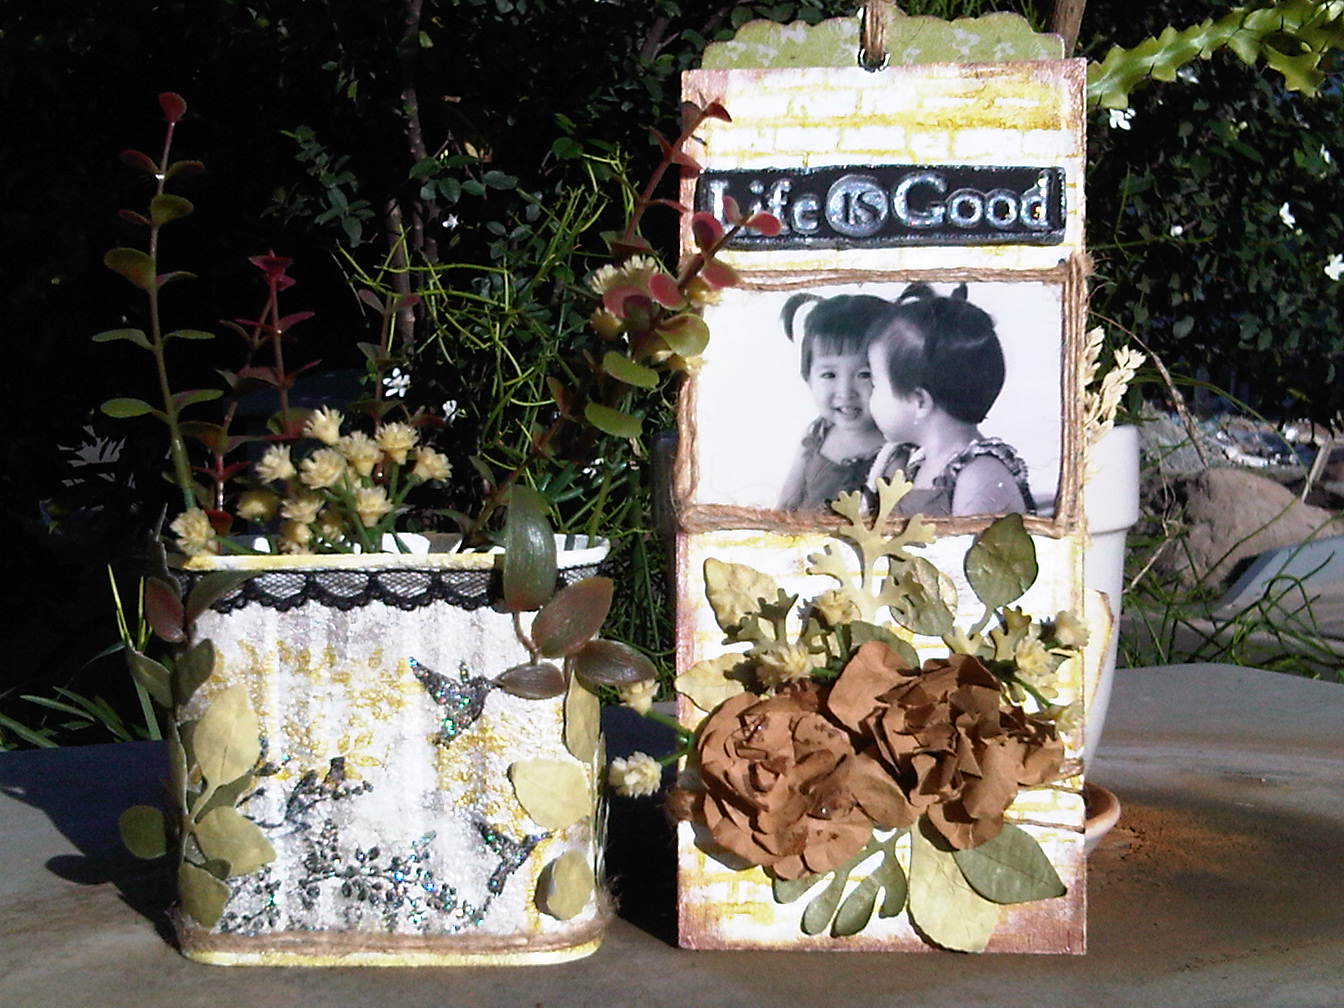

Life is Good.
Indeed.
Thanks for stopping by and I hope you could join us here for the challenge.
Eka


