Showing posts with label mini album. Show all posts

Saturday, June 16, 2012

Photo Editor Apps from iTunes

I just finished one mini album and my first-ever-envelope album!

Haven't got time to sit down on my desk, I happened to play with the new downloaded apps from iTunes store with iPhone.

Here are some of the afternoon captured of my works.

Love the new apps I downloaded. :)


Wednesday, February 15, 2012

Mini Album : Happy Day

I made this special mini album for a friend's order.
She liked the shabby romantic look on the previous mini album "Happy Day" I created for my auntie and asked me to make one for her. 
This time, the color I used more likely pink and green. 
The papers are from Prima Marketing.
Handmade flowers using dies from Spellbinders Nested Leaves, and the leaves using Spellbinders Shapeabilities Foliage.
 These cute little flowers I punched using Carla Craft Punch Sakura in 3 sizes.
I added a bling at the centre.
 I added lots of colorful ribbons with different textures and types to create the volume and variety.
 This is my favorite insider. I created a handmade window for holding a 2R-size picture in.
Cute isn't it?
Here's the look when we opened the window. 
Love it!
Another handmade flowers using the same Spellbinders dies. 
Just use different color paper.
for complete pages, you can visit here.

Thanks so much for looking!

Eka

Thursday, February 9, 2012

Juneberry Scrapbook: Mini Album Orders

After all the sadness I had to face, went back from the hospital and weeping for days, finally I found lots of unread emails in my inbox. To my surprise, I found two lovely customers who wanted special orders for their special friends and sisters.

I got a chance to create beautiful creations to fill up my time. Looking at those fancy papers and embellishments, making me more energized. I hope this will help me heal my brokenhearted soon.

Here's the minis I created for one of my customers. She loves shocking pink. I chose the paper from Bo Bunny - Sweet Tooth for her albums.

Here's the final look. I loved how it turned out. So sweet. Love those paper line!


For more details, you can take a look at my facebook store by clikcing for What a Sweet Life! and Happiness is Homemade.

Thanks for looking!

Eka

Tuesday, October 4, 2011

Mini Album - So Happy Family

 Created this mini album with sweet pink and blue color combo.
 Use the paper from Prima Marketing. Stamps from Little Yellow Bicycle.
 Use blings bought from kids and teen accessories store. :)
Actually they're made for cell-phone accessories :)) 
Anything for scrapping!
 Use different color ribbons in every page!
 Love those butterflies!
Thanks for looking!

Monday, October 3, 2011

Mini Album - Happy Day

I made this special album for a special auntie who inspire me to love crafts.
When I was a kid, she made me dresses. 
She cut my hair. She dressed me up.
I loved watching her sewing her own children handmade baby clothes. She's really talented. 
And lots of her talents, go with her daughters as well. Here's her eldest daughter blog, who's now turning a really talented digital designer. You can visit her wonderful creations. Please meet, Vera.
 Here's the cover of the album. I put two handmade flowers on.  
 Here's the close-up.
 The second and third page are fairly in soft colors. I used Prima Marketing brick masking, Ranger's Distressed Ink Tattered Rose. On the other page, I used Prima Flower plastic packaging. I reuse it. Too beautiful for being a trash. That way I am not trashing the climate either. Win-win solution, right?  :)
 Here I used  Technique Tuesday Clear Stamp by Ali Edward, one of my favorite scrappers. :)
 I made handmade ribbon flowers, by using a circle cardstock as the background, and simply put the ribbon in a circular motion, and some glue, starting from the edge.
 I stamped green circle background using a clear stamp from Little Yellow Bicycle.
 Notice the green leaves, they are made of another Prima Marketing packaging. 
Another reason why I love using Prima Products, is because I can use almost everything from the pack! :) 
I cut them using Carl Crafts's dies.
 Curling up paper pieces is fun and creating different look and mood of a paper.
 Simple, easy and turned out wonderful!
 I love this part so much!
 The flowers, I did some fussy cutting and added some UTE clear embossing ink.
 I dried it up using heating tool.
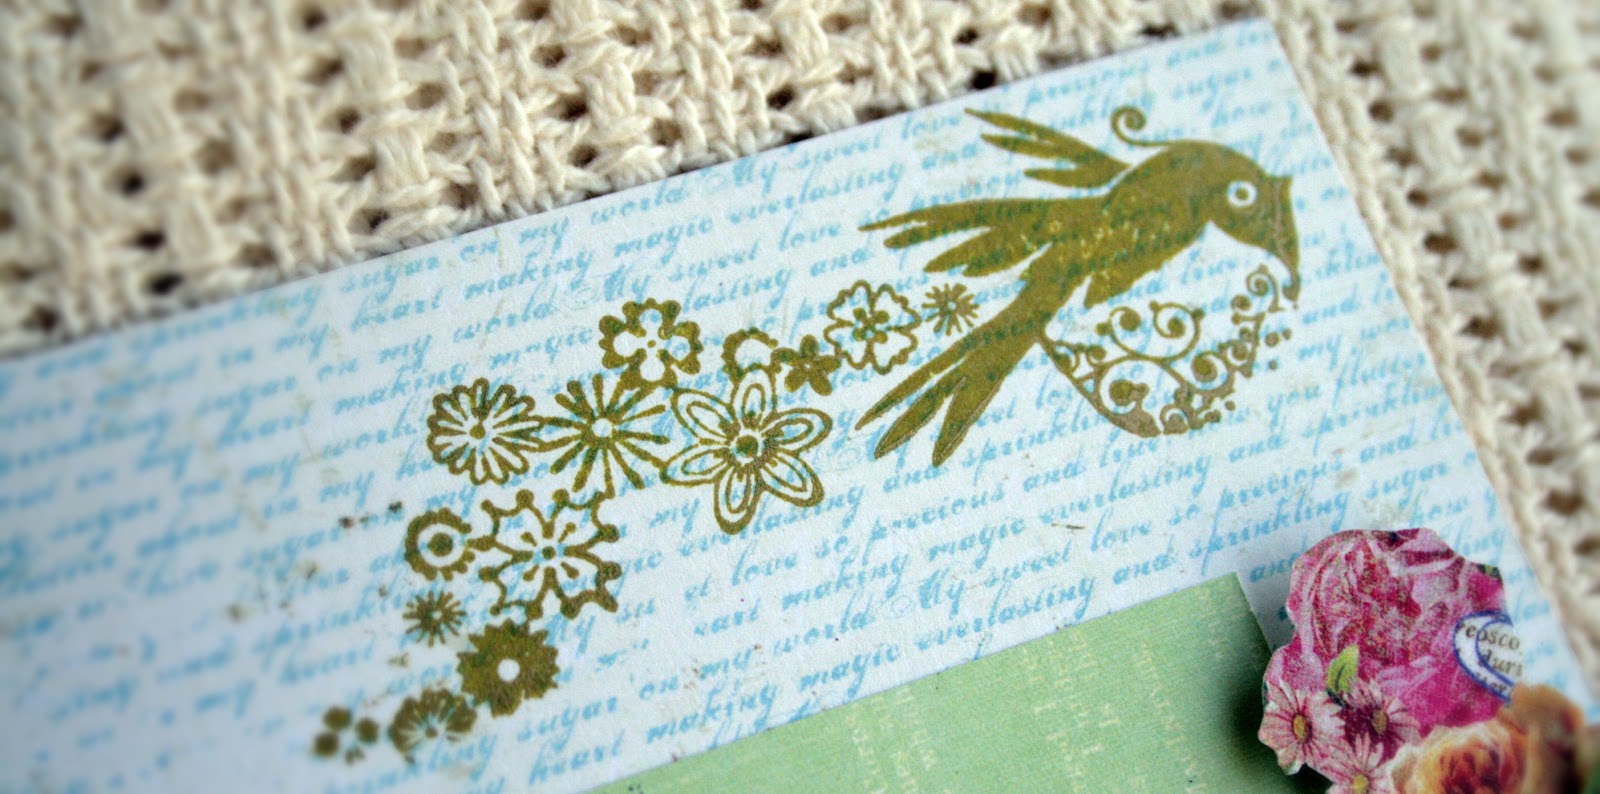
 Here's the close-up of the birdie clear stamp.
 And here's the close up of the handmade flowers I made using paper, beads and chalk ink box.
 Here's the last page of the album. I put quite a big space for a bigger picture here.

Thanks for looking!

Sunday, October 2, 2011

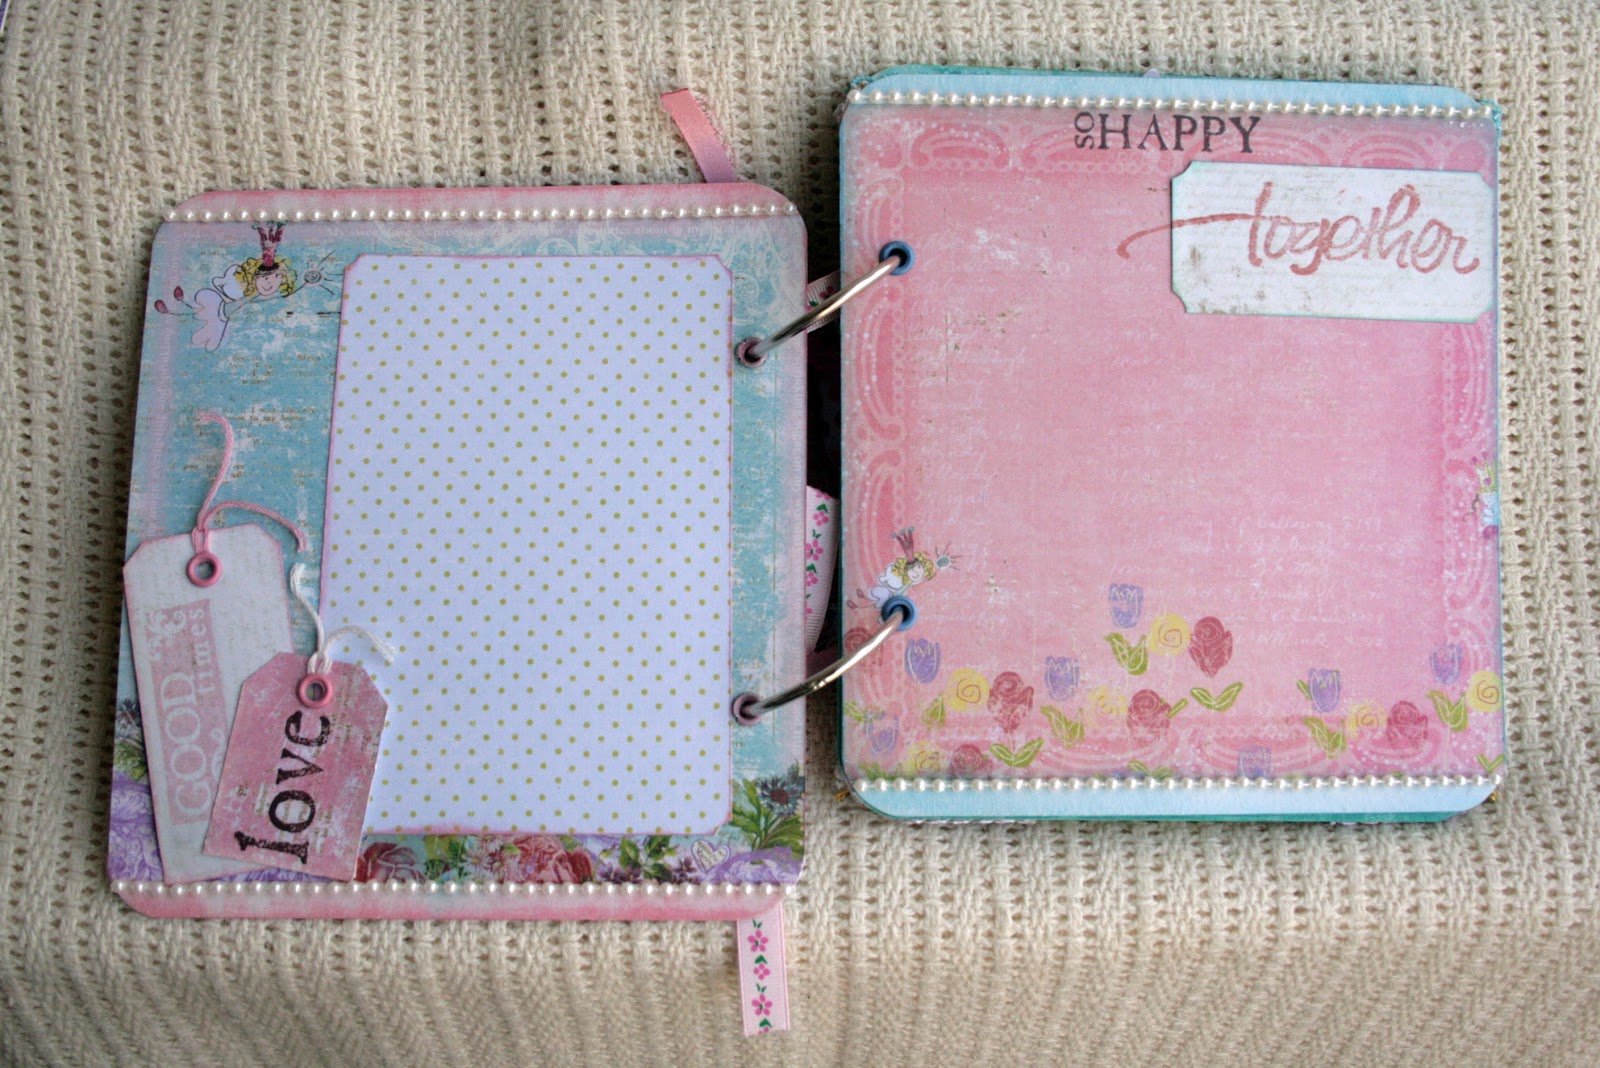
Mini Album - Princess

This mini album consists of  10 pages, included the cover and the backcover.
I mostly use the paper from Prima Marketing for this album.
 For color theme, I just simply follow the paper. 
I use thin cardstock for the album. The size of the album is 15x15 cm.
 Here's the close-up detail on the ring binder. I tied up some pretty ribbons on each ring.
 For this page, I used some green and purple acryclic paint and dabbed them using sponge brush to create special effect.
 I cut out the yellow paper as the frame.
 Use some clear stamp and ink here.
 I put the flowers overlapping to create more dimesnion. 
 For more details, I add on some UTE clear embossing ink and dried it up using heating tool. 
*Yay! Finally I have it!

 Some ink and clear stamps again. :)
 I love using Tsukineko brand for the ink since it create a bold look like a printing machine.
 I put in Prima Masking and created this wonderful frame. I used paint knife and some pink acryclic paint to make it.
 Then to create softer look, after it dried, I dabbed on some whites using sponge brush.
 Here's another frame. I cut out the green paper and aligned it diagonally.
 I dabbed over some yellow acryclic paint directly from the tube! LOL. Look at the effects! I love it. 
No mess. No clean up. 
Close the tube and done!
 I dabbed some more on the next page.
Here's the last page. 
I really love the cut-outs castles. I added some blings using Ranger's Stickles and put some glass deco on it to create dimension. Again, I dried them using heating tool.
Here's the close up: